I'm not going to get too detailed about our rules, the core of which are lifted out of Sellswords, but the basic framework is that play is divided into Exploration Phases and Encounter Phases. The players each take on the role of a Companion and together explore the dungeon in the former phase and fight off its denizens in the latter.
During the Exploration phase, dice are rolled to determine the size of the dunegon room the Companions enter, how many doors it has, including whether they begin opened or closed, and the content of the room including what kind of monsters. If monsters aren't attacking the Companions, they can also search furniture and, as the case may be, try to detect and disarm traps or solve other puzzles. As soon as monsters appear, the Exploration Phase ends and the Encounter Phase begins.
During the Encounter Phase, the Companions take turns making Activation Tests and take as many actions as successful tests, to a maximum of three. Each failed test results in a draw from the Encounter Deck, which is (partially) how the monsters act. The activation test is made on a d20 and the difficulty is equal to the current Shadow score of the dungeon. The Encounter Phase ends and the Exploration Phase begins when all the monsters either flee or are otherwise defeated.
Shadow is equal to the number of explored rooms plus open doors to unexplored rooms. Other events, some of which are in the control of the Companions (such as smashing down locked doors) also increase Shadow. The idea is, as the Companions venture deeper into the dungeon and arouse the ire of more and more monsters, the strength of the Enemy's servants wax.
But a light shines in the darkness! Each Companion has a stat called Hope, which can be spent to mitigate the Shadow and there is also a pool of Hope, called Fellowship, that can be spent by any Companion. Most Companions add a single point each to the Fellowship pool. But Hobbit Companions, although not always that handy in a fight, contribute two points each to the pool.
A couple weekends ago, the bug hit us again and so Scott wrote up a scenario for a return to the dim, dangerous delvings of Middle-earth.
Before giving, to the best of my memory, a room-by-room account of the quest, let me show you a picture of the overall dungeon at the end of play. Scrolling back up to this picture might help you understand the course of our adventure a little better as I describe it.

The first room is the one directly in the center, with the open door facing the camera's point of view. And that is where we will begin the story of the quest ...
Ulfrid Cleftfoot, Second Underchamberlain of Erebor, has tasked the Companions with recovering an ancient relic of the House of Durin. Said to have been lost 400 years ago during the War of the Dwarves and Dragons, the Hammer of Grór is a valuable heirloom to the Dwarves of the Iron Hills.
The hammer is believed to be deep within the armories of the lost dwarven hold of Narâgzâram-gathol in the Gray Mountains. Unfortunately, the hold is currently occupied by troops from Mount Gundabad. Entry through the front gates is out of the question due to orc activity. Even the losses of the Battle of Five Armies has not seriously depleted the numbers of orcs infesting that hold.
Fortunately, an ancient map was unearthed in the archives of Erebor which mentions a back door to the hold, accessible from the its extensive mine workings. These mines can be reached from a little-used and partially ruined outpost. Once the Back Door is found, the Companions could more easily enter the hold.
The Companions have journeyed through the foothills of the Narrows of the Forest for weeks, and have finally reached the outpost. A dark and crumbling portal hidden behind scrub and bushes awaits them ...Five Companions joined the quest for the outpost: a Dwarf Warrior of Erebor, a Smuggler out of Laketown, a Woodman of Wilderland, a Ranger of Mirkwood, and Loremaster of Rivendell.

The First Room was deserted and seemingly long disused. The Companions found doors on either side of the entrance, which for convenience's sake we will call to the east and to the west. The west door was locked and rather than fiddle with it too much, we decided to open the east wall portal. Note the open door to the dungeon itself does not count toward the Shadow score.
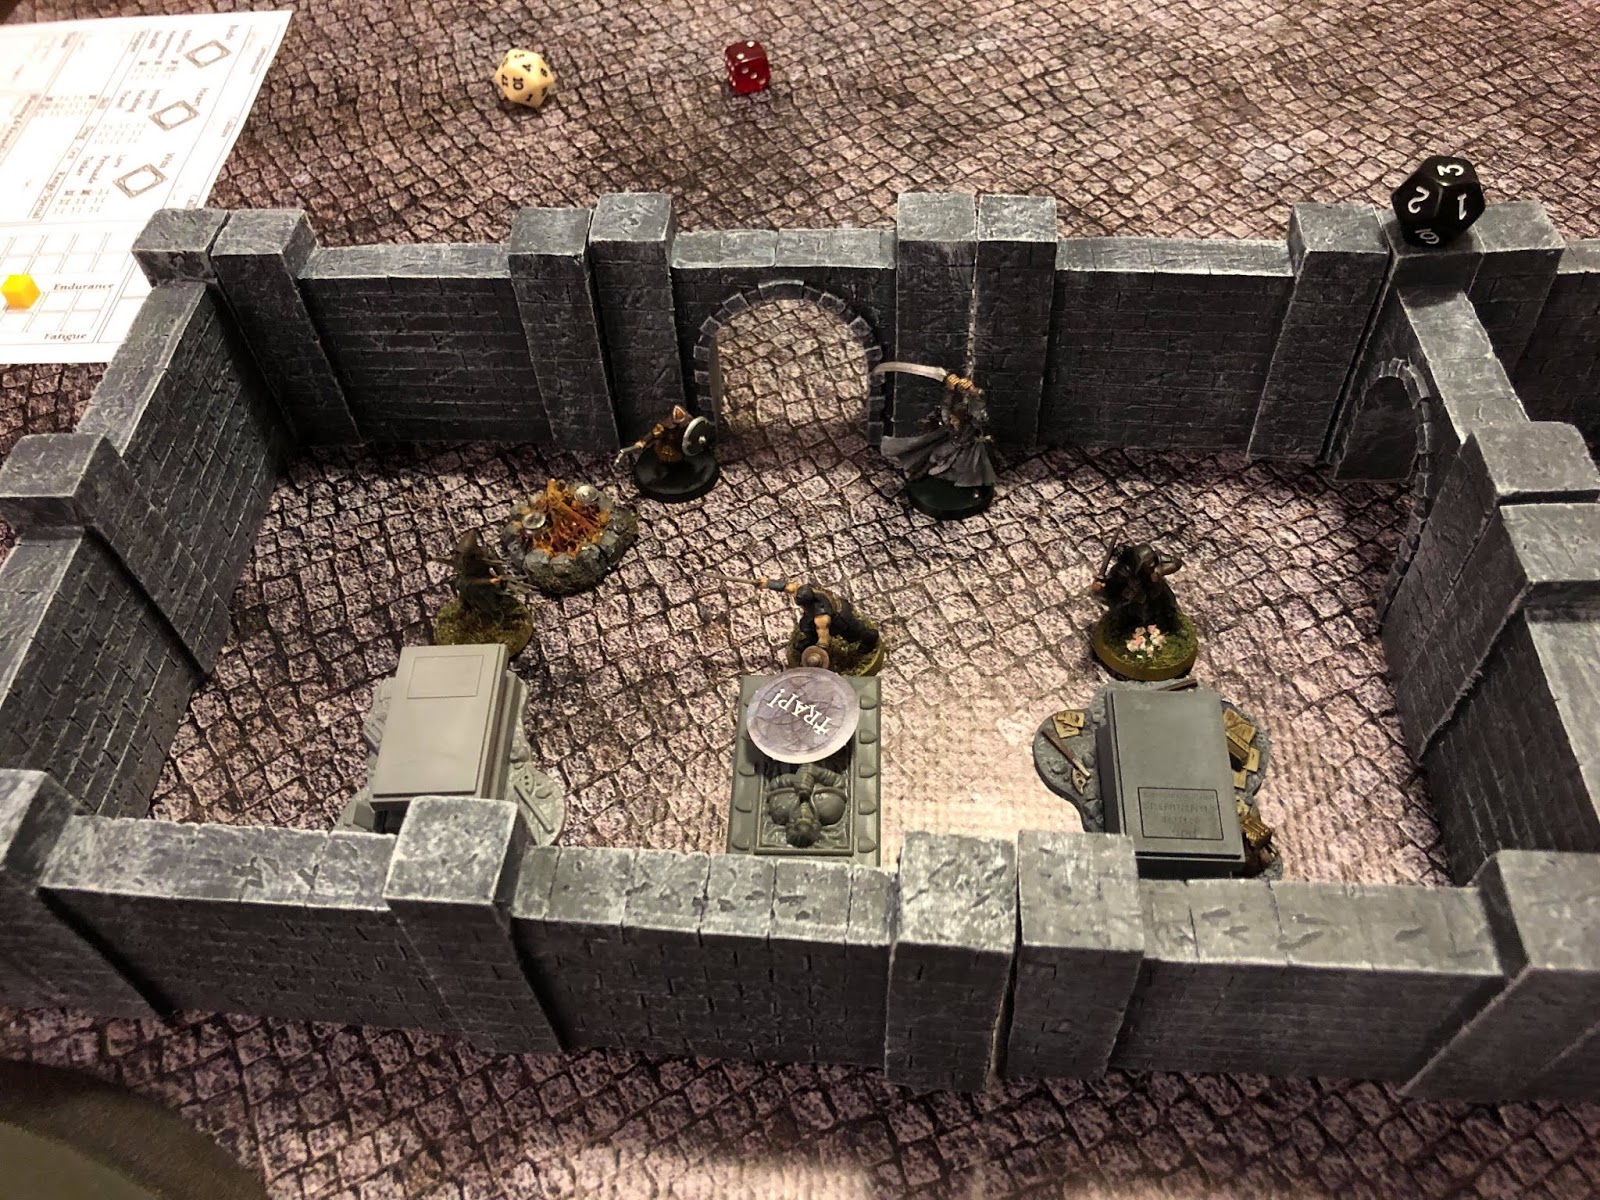
The Companions found no monsters guarding the Second Room, either. But they did find three ancient tombs, protected by cunning artifice of ancient Dwarven-make. The Loremaster recognized one of the tombs as a Dwarfriend of old, a rare Man who earned the respect of the grim folk of Aule. His grave, however, had been disturbed. Perhaps some relic of his friendship with the Dwarves might be found deeper in the outpost?
As you can see in the picture, indicated by the black d12, the First Room, the Second Room, and the open doorway in the north wall of the Second Room add up to Shadow 3.

The Companions heard skittering and snickering through the open door to the north and discovered, in the Third Room, an ancient scriptorum covered in thick sheets of cobweb. Giant Spiders lurked in the dark corners of the ruined repository of lore while their Goblin herders goaded them on. After making short work of these pests, the Companions opened the door on the eastern wall of the scriptorum.
Because the second door of the Third Room began closed, the Shadow remained at 3. This is because open doors between explored rooms do not add to the Shadow. While Shadow is low, it is easy to risk taking all three activation tests per Encounter Phase round per Companion. So early on, the Companions have a pretty easy time of it. But as the Shadow grows, it gets harder for the Companions to pass activation tests and correspondingly easier for the monsters to act or for other nasty surprises to crop up.

The Fourth Room was a narrow corridor dominated by a fountain, which appeared to water the hideous giant spiders as well as a Cave Troll!
Most monsters in DD&CO, called Minions, appear and act in groups. But more powerful monsters act alone. Both these Loners and Minions have a certain amount of Hate points, the counter to the Companions' Hope and Fellowship, which are spent to make powerful attacks or activate other monsters. The Cave Troll, for example, can make a sweeping attack against multiple Companions. Provisionally, Minion groups also flee when they are reduced in numbers below their starting Hate points. Unlike Minions, Loners can only be wounded by critical hits.
With the Cave Troll and Giant Spiders defeated, the brave (or foolish?) Woodman drank from the fountain - which meant rolling on a table to see what happened! Just normal water this time ...
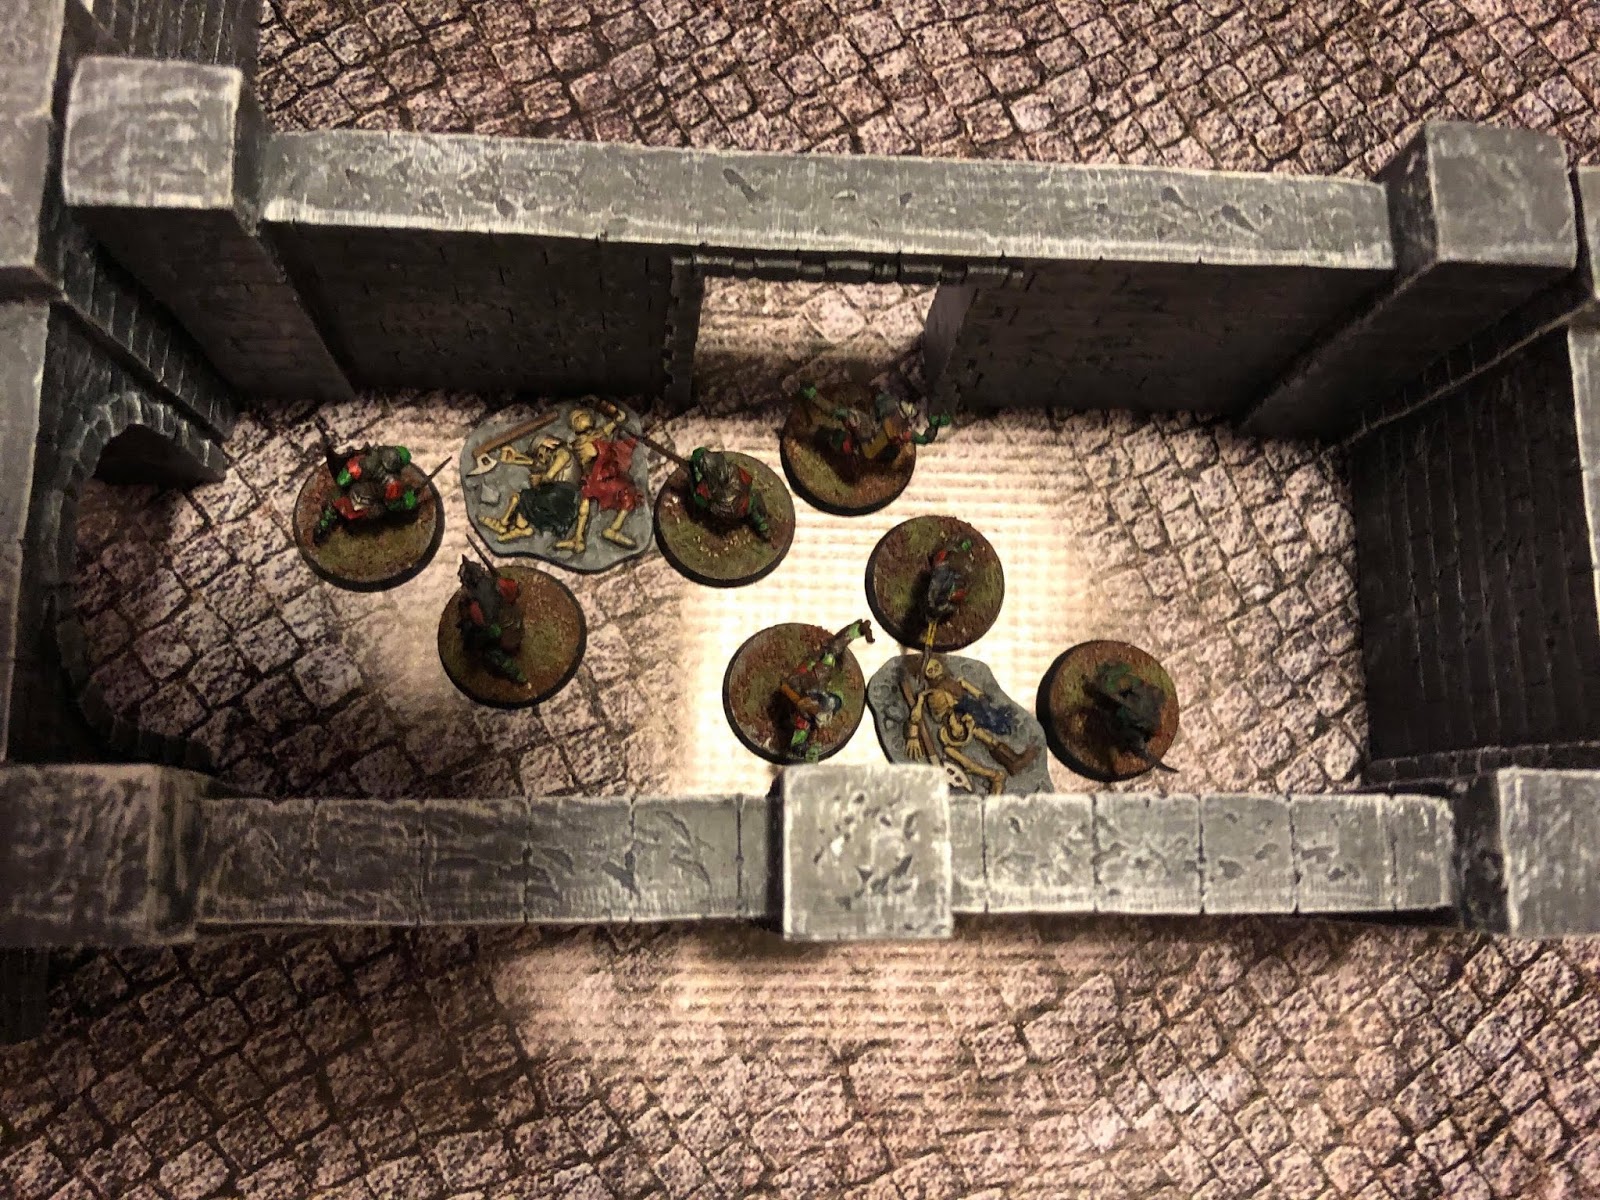
Through the open portal on the north wall of the Fourth Room, the Companions entered another narrow corridor, the Fifth Room, littered with the ancient bones of Dwarves and crawling with Goblins. After dispatching the Goblins, the Companions decided to double back to the Fourth Room and try the closed door on its south wall. The open door the Companions left behind counts for the Shadow score, which is at this point 6. The final room and encounter of the dungeon appears when the Shadow reaches a number pre-determined by the scenario, in this case 11.
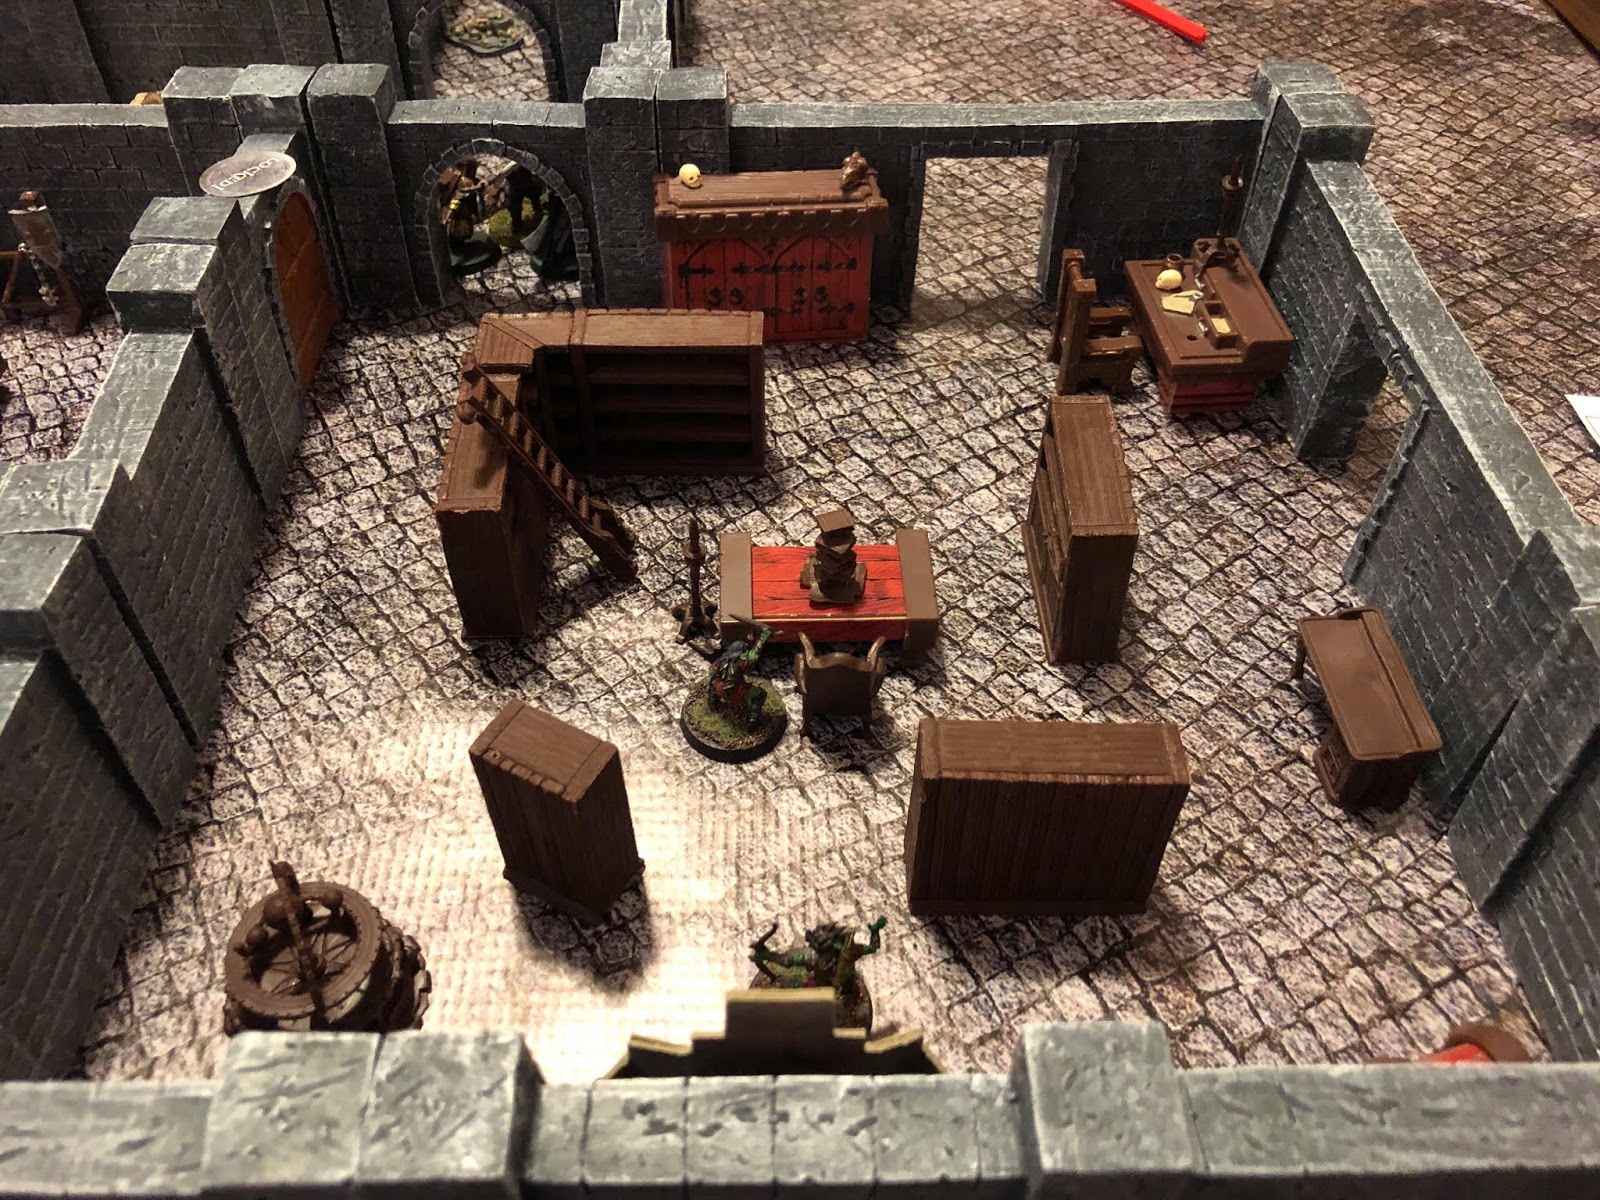
The south door in the Fourth Room proved locked and the Companions could not pick the lock so we smashed down the door, bringing the Shadow up to 9! Behind the ruins of the door was a quiet library, the Sixth Room, where a couple of Goblins uselessly perused the Dwarven codices. Although these Goblins were handily defeated, there was so much to search in the library that we needed to make several Wandering Monster checks, which need to be made once per full round of Companion actions during an Encounter Phase. We ended up getting bogged down as several patrols of orcs and eventually the Gundabad Captain himself appeared!
So how do the monsters defeat the Companions? If any Companion is slain, everyone loses. Companions have several stats that track their condition during an adventure. Each has an Endurance and a Fatigue stat. Endurance works like HP; successful monster attacks reduce it. Companions also start with a certain amount of Fatigue based on their equipment but can gain Fatigue points during the adventure from certain monster attacks.
Once Endurance is reduced below Fatigue, a Companion becomes Exhausted and can only attempt one activation per Encounter Phase round. Once a Companion reaches zero Endurance, he becomes Wounded and cannot take any actions or recover any Endurance until healed. A Companion can be healed once per adventure and any Companion can attempt to heal another, although some are better at attempting it than others. If a Companion becomes Wounded after having already been healed during the adventure, then he is slain.
As mentioned above, Companions also have a Hope stat and Hope points can be spent to do various things like reroll dice or temporarily reduce the Shadow score. Hope cannot be recovered during an adventure, as a general rule. Additionally, Companions have a Despair stat which starts at zero but Companions can take Despair points as a result of various events, including seeing a Companion being Wounded or taking special attacks from certain monsters. If Hope is reduced below Despiar, then the Companion becomes Miserable and can no longer spend Hope or Fellowship points.

Having been pretty worn down in the Sixth Room, the Companions finally managed to forge ahead through its open north door into a smaller, grimier space. Lit by greasy campfires billowing stinking smoke up into a shadowy rift in the ceiling, we found the den of some Hunter Orcs and their disgusting pets from the chasm above - Giant Bats!
Because this Seventh Room had two open doors, Shadow now rocketed up to 11 (please no Spinal Tap references ...) meaning the last room lay beyond whichever of the two open doors the Companions next explored. But first there was the matter of the monsters. At Shadow 11, the Companions now had a less than 50% chance on each activation dice and the monsters correspondingly acted more often than ever.
We spent some more of our Hope and Fellowship points to try and mitigate the odds a bit, although we were mindful that whatever waited for us in the final room would probably require those resources, too. Still there was no getting to the last chamber without clearing this one and after a tough but efficient fight we crossed the penultimate threshold ...

Dominating the entrance to the mines of Narâgzâram-gathol sprawled a dark bubbling pool of sludge in which wallowed a foul wyrm! And as he uncoiled his slime-slick, scaly body to rear up in anger, a fell light shone from his awful slit pupils. A deathly miasma wafted off the disturbed scum of the pool and with a sickening burble, the corpses of dead men rose from the waterline. As the malignant drake gaped its hideous jaws, a whirl of black screeching bats descended from the ceiling to encircle its glistening head like a living crown of darkness.
None of us had a painted Cave Drake from GW so Scott used a charming old Grenadier sea serpent he recently found somewhere or other.
A roar of "Baruk Khazâd!" went up as the Dwarf Warrior, enraged to find such a filthy abomination coiled in the depths of the hold of his people, charged forward to strike at the wyrm before any others had gathered their wits enough to act. Soon enough the Loremaster was at his side, trying to carve through the shambling dead men, as the other Companions poured shots into the drake or else maneuvered into the room. The Smuggler charged in bravely but was scooped up by the Giant Bats and dumped into the muck. Again and again, the hideous beast's throat puffed up a spewed forth sickly greenish flame, as the Companions dodged its snapping maw.
At last the brave Dwarf Warrior of Erebor, his shield shattered and blood running from rents in his mail, sunk down to one knee. He had cut a few rents into the living armor of the horrible wyrm but it looked to have the better of him. Just as its open jaws darted toward him, and he steeled himself to go to his fathers in glory, the lunging head fell away with a deafening shriek! As its lifeblood spurted from its cleaved neck, the dead animated by the dragon's magics sunk into still piles of decay.
Game-wise, this final encounter was harrowing. Scott designed the dragon to use a breath attack whenever a Compion failed to hit it with an attack. But like all dragons of Middle-earth, this one had a weakness. After each breath attack, the critical range of successful hits against it doubled. The trouble was, every time Scott's Dwarf Warrior attacked, he missed, resulting in all of the Companions getting hit with the breath attack. Still, Scott stubbornly attempted to attack it.
It's possible, with some extremely bad rollings, for a Companion's shield and armor to break. Scott's poor Dwarf suffered both misfortunes! When the Dwarf seemed doomed at last, I rolled three activation tests and made all three. With my Elf's first action, I cut down a Dead Marsh Spectre blocking my path to the wyrm. With the second, I moved in. And with the third, I raised my Elven Great Blade - and landed a critical hit to impart the final wound!
In the wake of the battle, the Companions found the dragon's somewhat modest hoard and amid the gold and gems, we found the relic of the Dwarfriend who's tomb we had recognized in the Second Room. It was a shield, a perfect replacement for the one Scott's Dwarf had lost. We will undoubtedly give it some special rule - maybe Unbreakable?
I haven't had such fun gaming since I first started this crazy hobby as a kid. DD&CO is, in my opinion at least, a complete success so far.